DIY diorama door 1/6 scale
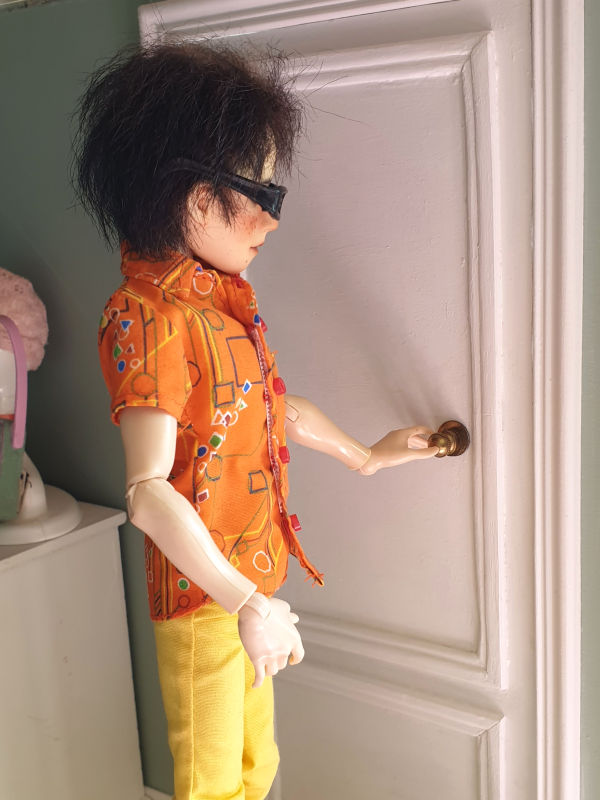
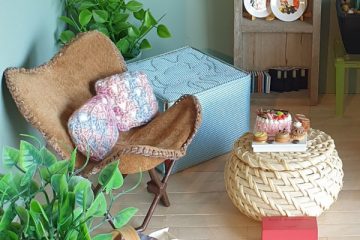
One of the rooms in my display cabinet is the scandi boho diorama in 1/6 scale. After finishing the real wooden floor and the walls, it was time to make a DIY diorama door for the room!
In this tutorial, I will explain the steps to making your own realistic DIY diorama door. Learn how to make your own beautiful, realistic door for your doll houses and dioramas!
Learn how to:
- make the DIY diorama door
- make the door paneling sticks
- cut in angles
- make the DIY diorama door paneling
- make the DIY diorama door knob
- fasten the DIY diorama door hinges
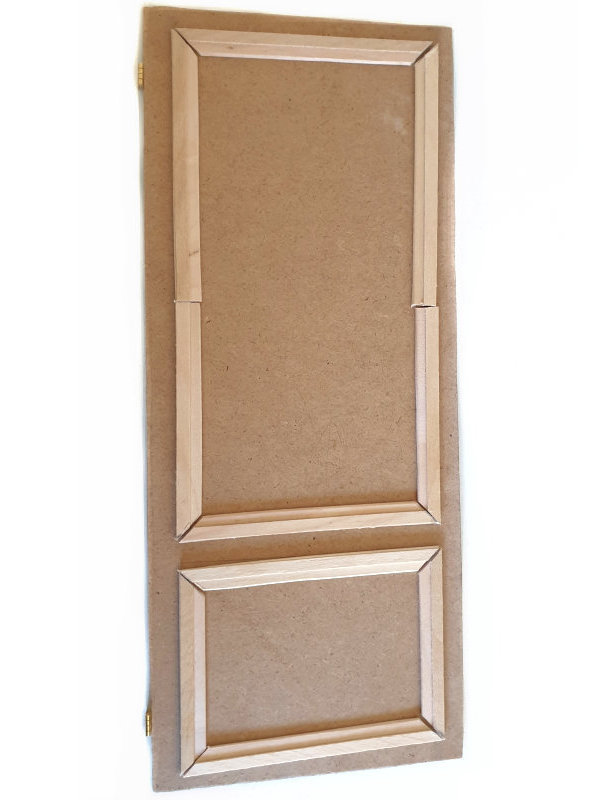
How to make the DIY diorama door
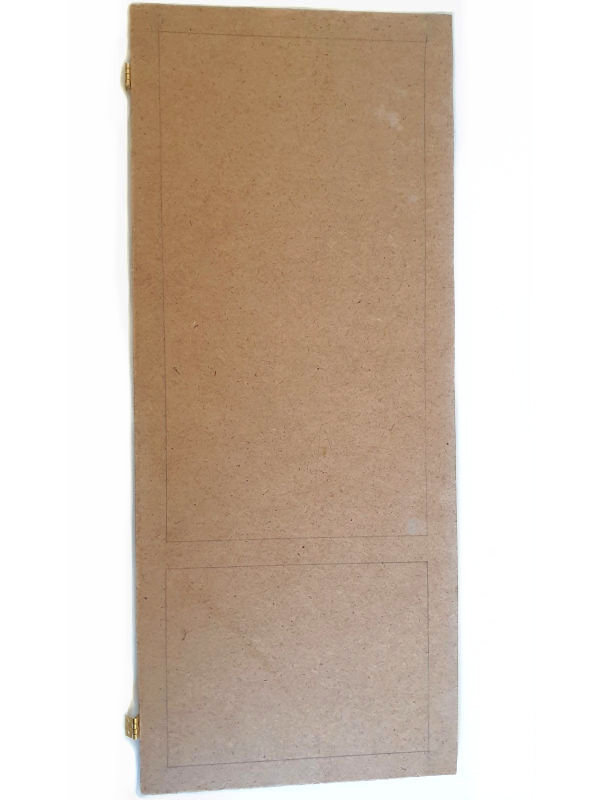
- For the base of the door, I have used 4mm MDF board, but you can use any material you like, for instance sturdy cardboard, as long as it has a leveled surface.
- Take the measurements for the door by measuring the real-life measurements for a door in your own house and convert these to 1/6 scale by dividing through 6.
- User a ruler to draw the shape of the door onto your MDF board and cut the shape out with a fretsaw. Don’t forget to sand around the edges for a nice and finished look.
- Finally, draw the shape of your paneling onto the door. I chose to draw two rectangles, 1cm from the edge of the door and spaced 1cm apart.
How to make the door paneling sticks
- To make the paneling, use popsicle sticks and coffee stirrers. These are extra thin craft sticks. Below is an example of the three sizes of craft sticks I use: jumbo, popsicle and coffee stirrer sticks.
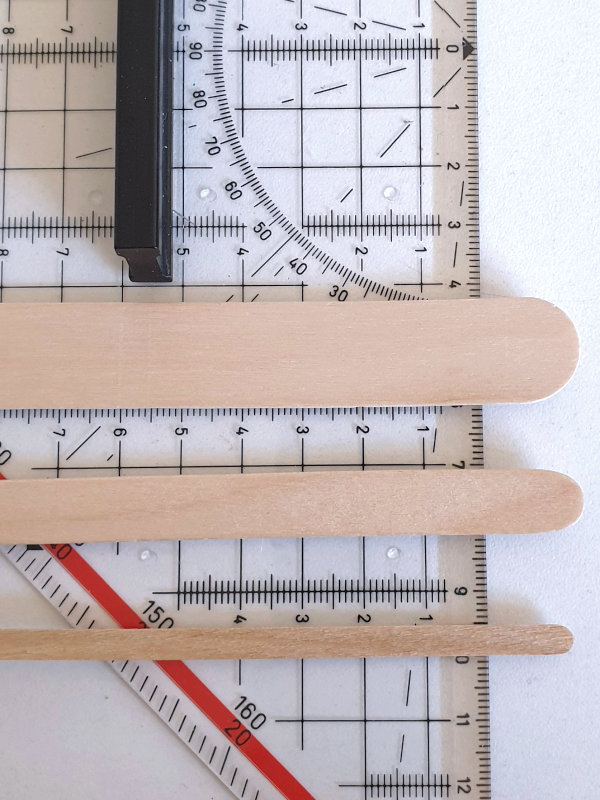
Craft sticks measurements 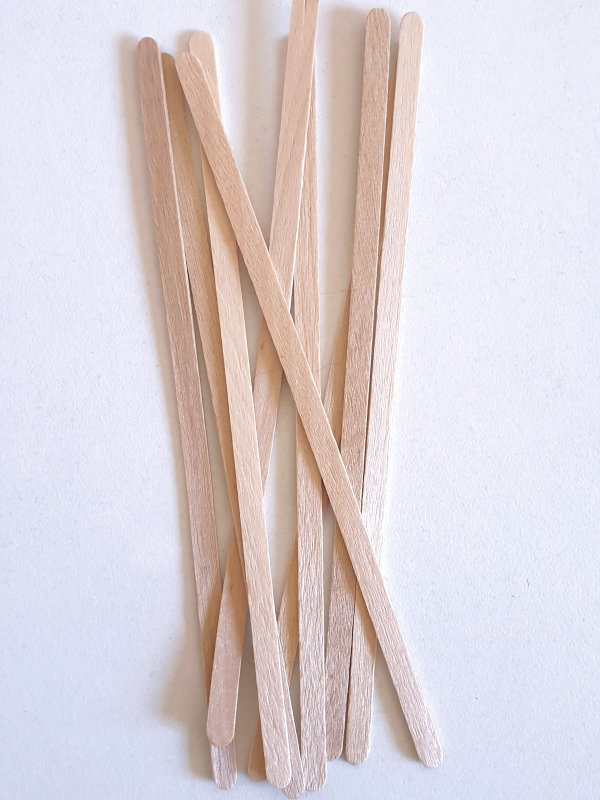
Coffee stirrer sticks 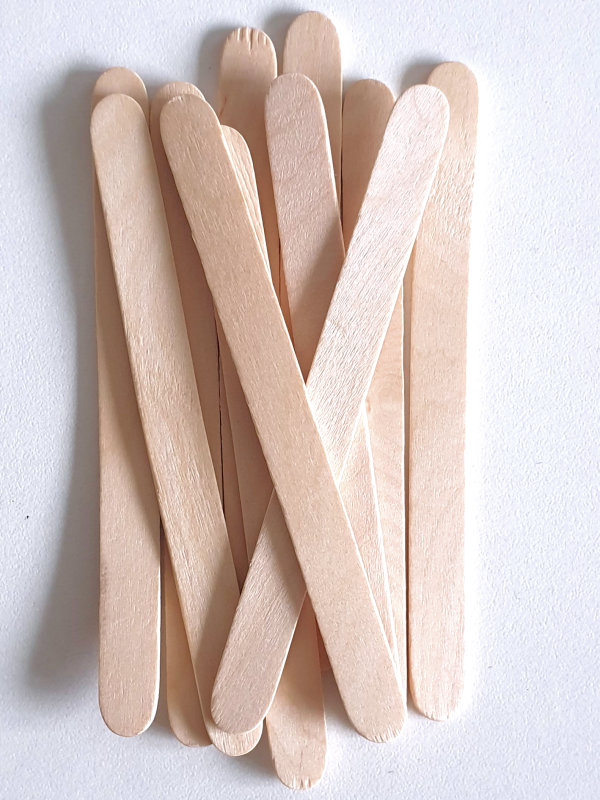
Popsicle sticks
- Use Power Pritt stick to firmly glue the coffee stick to the popsicle stick. Spread an even layer of glue along the bottom of the coffee stirrer and align it on the popsicle stick.
- Use document clamps to secure the sticks while the glue dries.
- Estimate how many sticks you will need for your paneling, make a batch of these and leave to dry for about an hour or so.
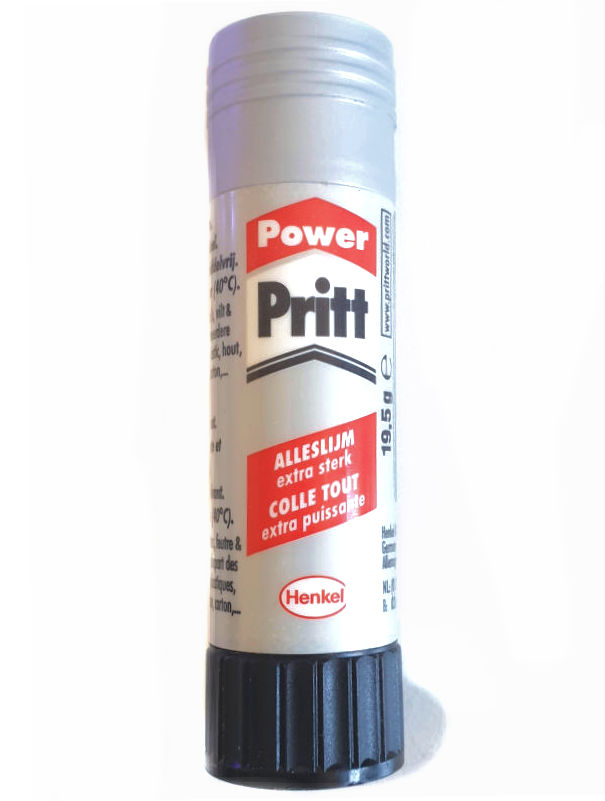
Power Pritt 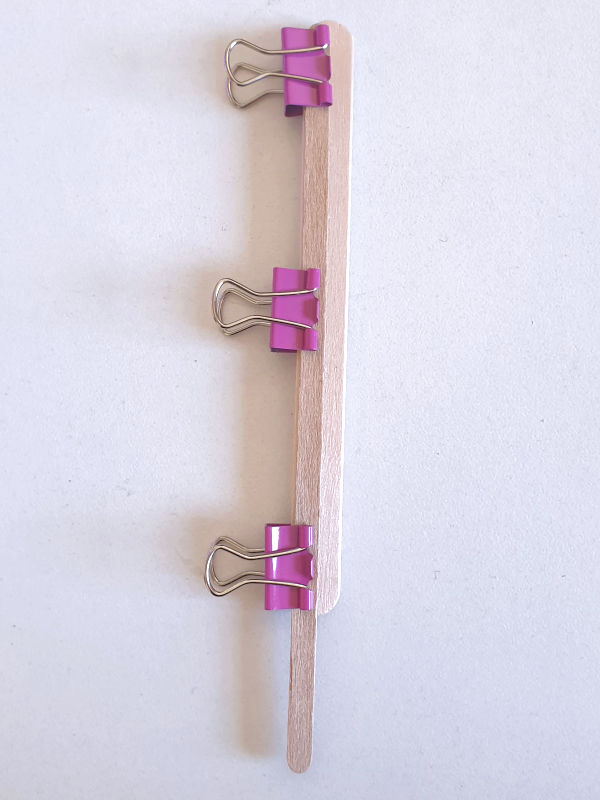
Document clamps to glue the sticks
How to cut in angles
- Use a geo triangle to draw a perfect angle on your craft sticks, I used a craft stick a ruler along the 45 degree line. Actually, it seems I used the 42 degree line by accident! It worked out pretty nicely regardless, because sanding the sticks allows you to correct the fit afterwards.
- Make sure to alternate sides, so each angle has an opposite that fits against it.
- You can use sturdy craft scissors or a model hobby mini handsaw to cut the edges off in an angle.
- Don’t forget to sand the edges smooth to get rid of any splinters and ensure that the angles will fit against each other to create the corners.
- If you chose a large rectangle for you paneling and your sticks are too short for the entire length, cut one side in an angle and the bottom in a straight line. Fit two sticks together with their straight edges and make sure to have opposing angles at the top and bottom (see ‘How to make the DIY diorama door paneling’ image below).
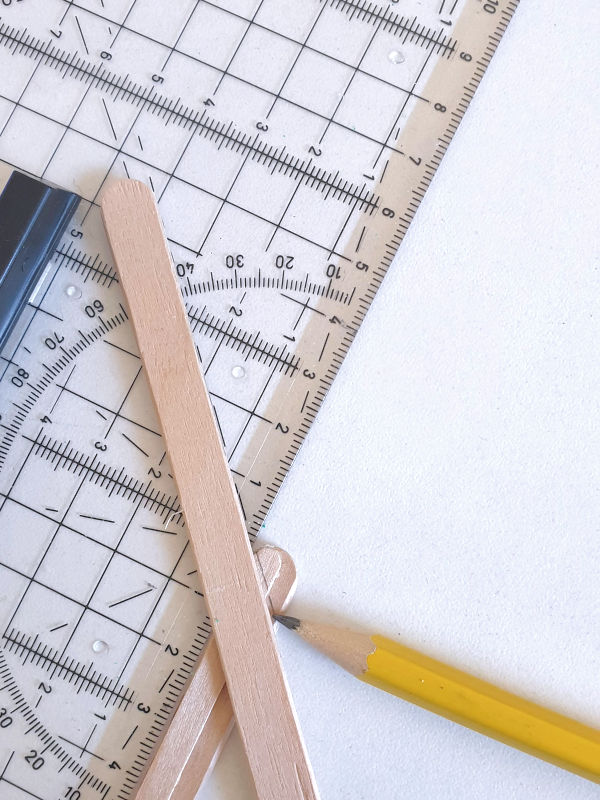
Geo triangle for 45 degree angle 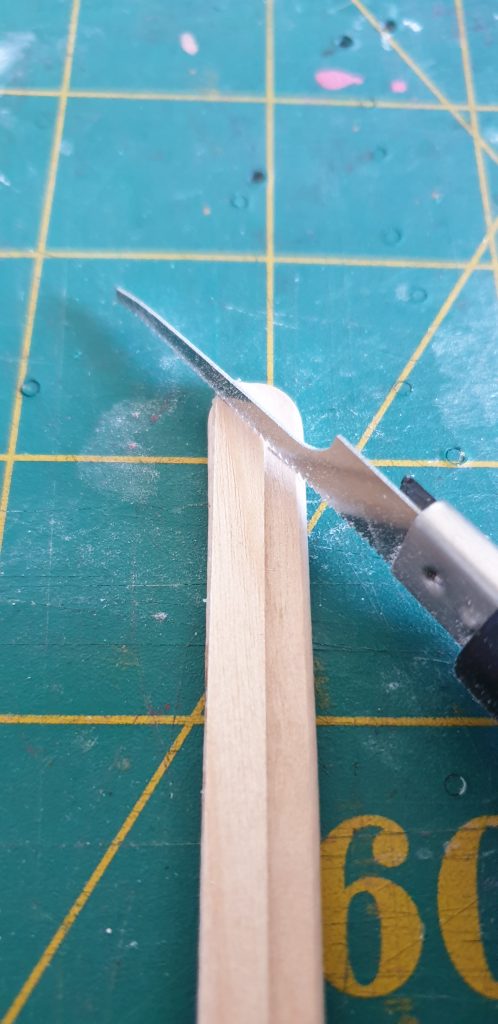
Cut the angle along the line
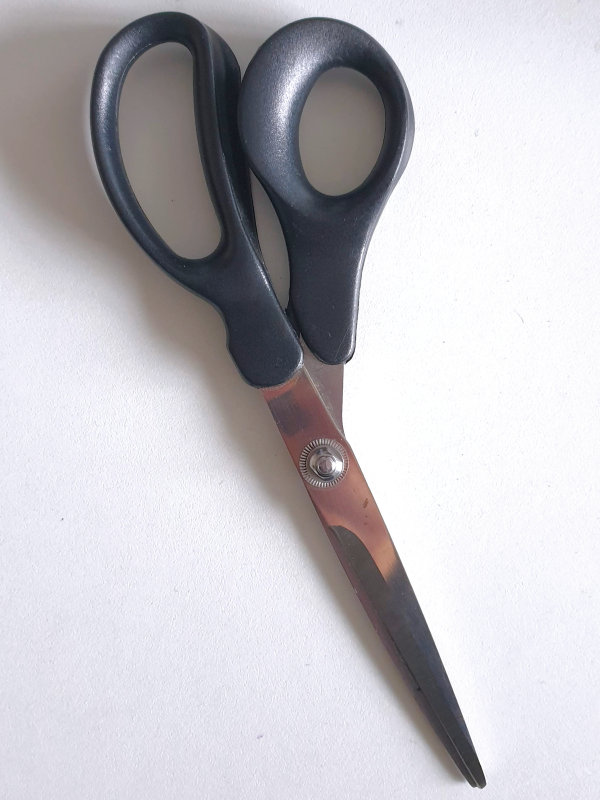
Craft scissors 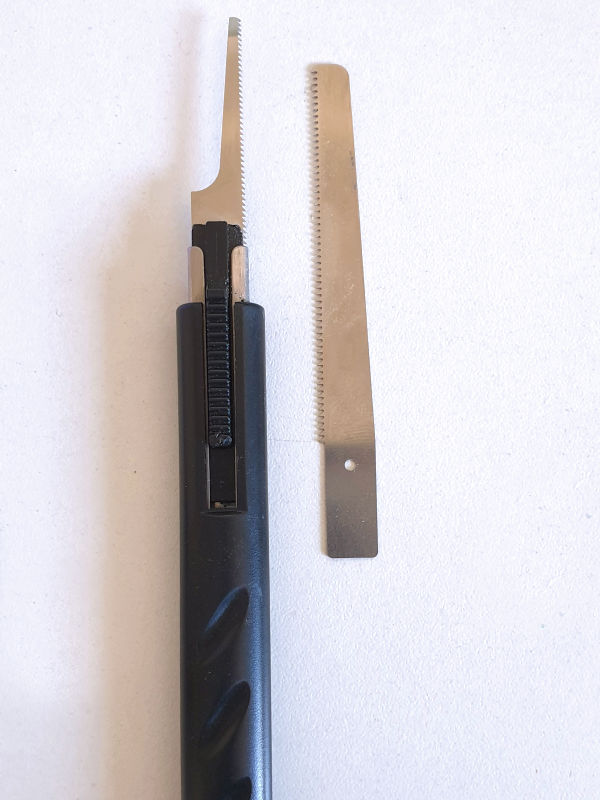
Model hobby mini handsaw
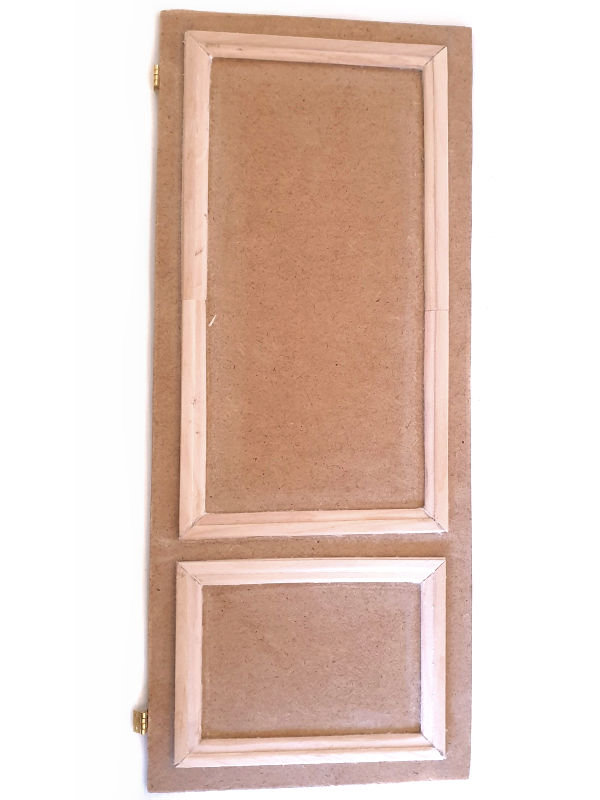
How to make the DIY diorama door paneling
- When the batch is finished, you can arrange the paneling sticks on the door along the lines of your previously drawn pattern.
- Make adjustments the tops and bottoms of the sticks by sanding them until two edges fit together snugly.
- Use a white PVA glue to glue the paneling to the door. The brand doesn’t matter all that much, a simple water-based craft glue that dries clear and is suitable to glue wood with will work perfectly! Spread an even layer of glue along the bottom of the paneling and arrange the sticks on the door.
- Secure with a glue clamp. Let it dry for about an hour.
- When the paneling is glued firmly to the door, use a wood gouge to create a bevel by gently stripping away the edge of the coffee stirrer (top) and popsicle stick (bottom), this will create an angle to gently transition between the layers.
- After that, sand the edges until they look rounded, flatter and smooth.
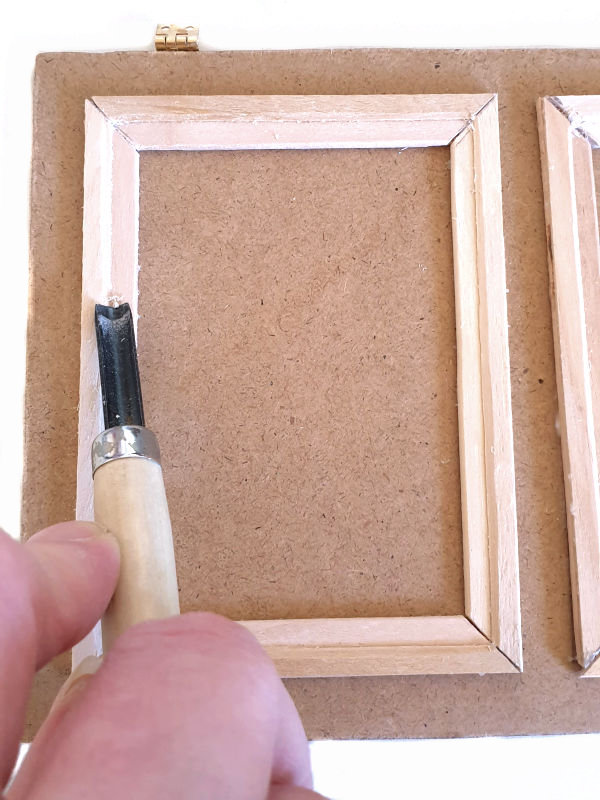
Gouge the paneling 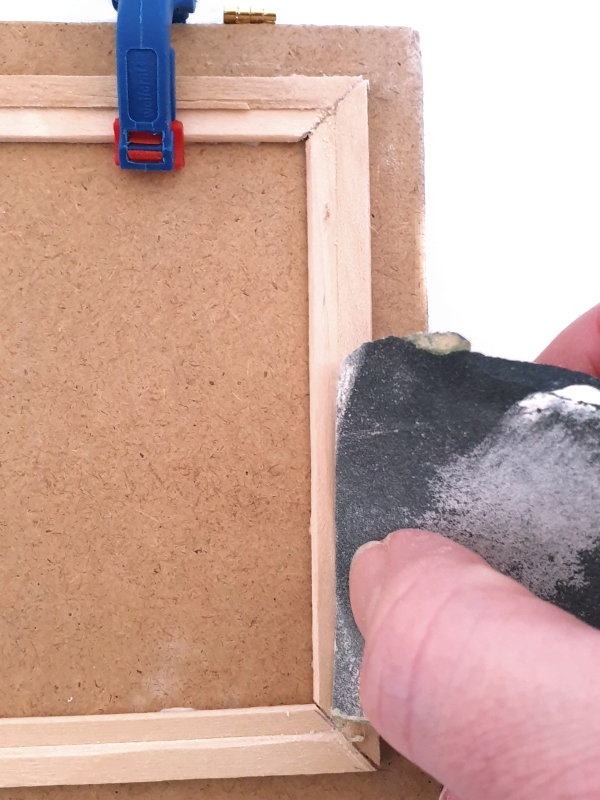
Sand the paneling
How to make the DIY diorama door knob
- For the door handle, you can use pre-made dollhouse door knobs, but they do tend to run a bit small for 1/6 scale dolls. Alternatively, you can get creative with for instance a washer ring and glue a pearl bead to it.
- I chose to upcycle real brass parts of analog alarm clocks for my door knob. I salvaged two brass washers, a bolt and a knob for this project.
- Determine the position of your door handle and use a Dremel tool to drill a hole in the MDF.
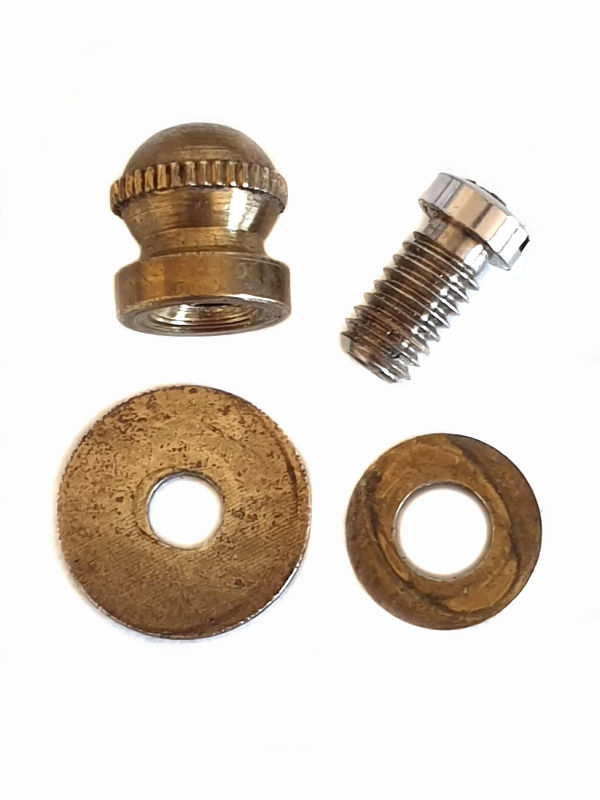
Clock parts for the door knob 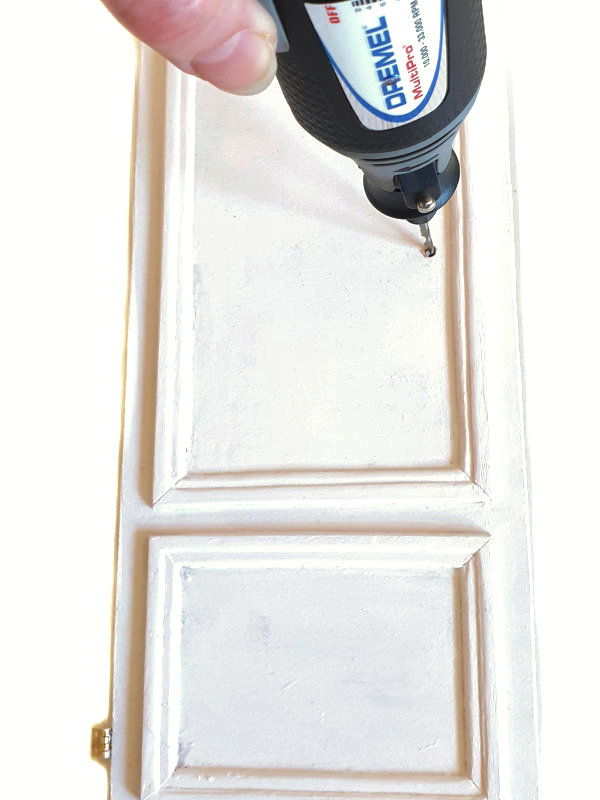
Drill a hole with a Dremel 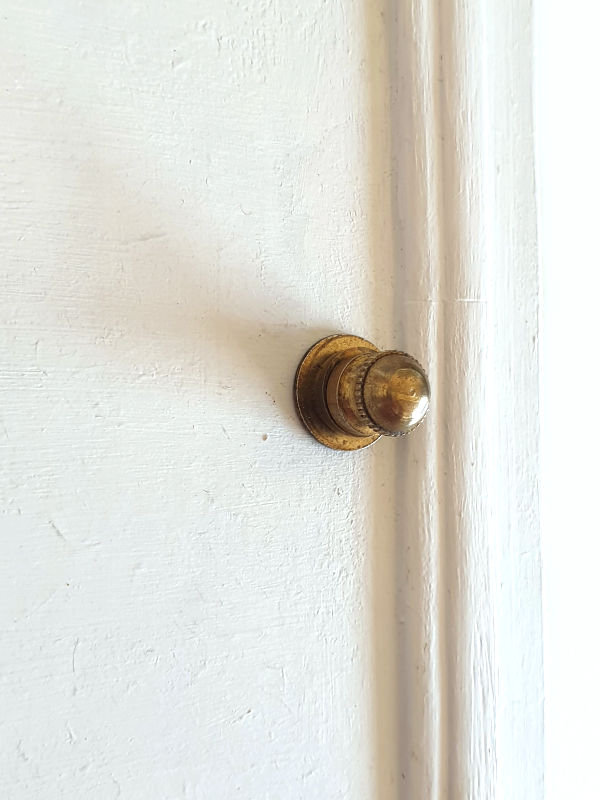
The finished brass door knob
How to fasten the DIY diorama door hinges
- To fasten the door to the wall panel, I ordered brass dollhouse door hinges.
- Mark the holes for the hinges on the side of the door and match these at the same height on the wall panel.
- To make sure that you don’t split the wood of the door by hammering the nails into it’s side, use a Dremel or a hand drill to carefully drill the holes for the nails. Use a drill that is a little thinner than the actual nails are, so the pre-drilled holes will not be too loose, which may cause the nails to fall out.
- Gently push the nails into the pre-drilled holes with the flat bottom of a sturdy tool (for instance a screwdriver).
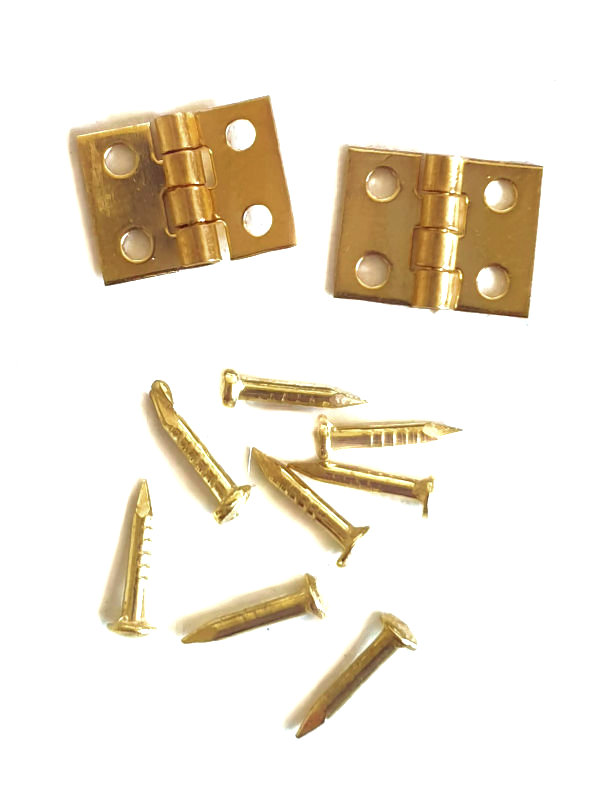
Dollhouse hinges for the door 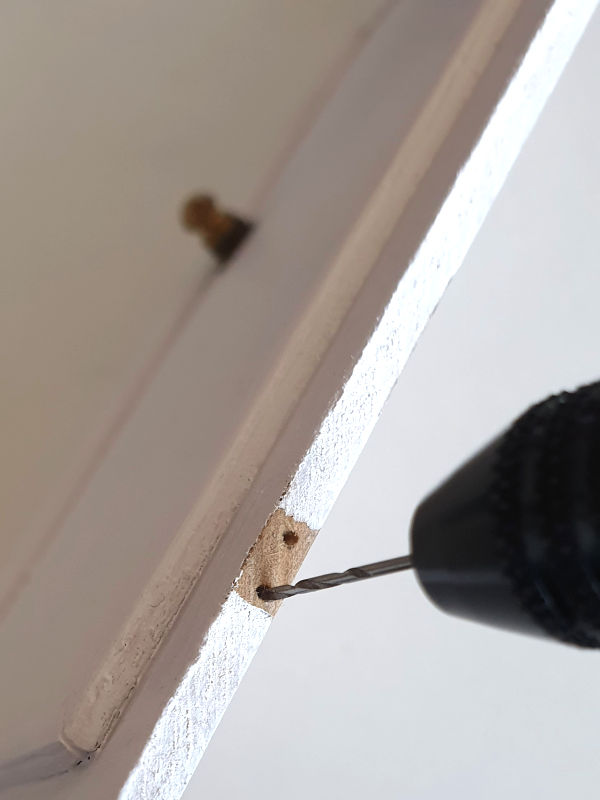
Mark and drill holes for the hinges 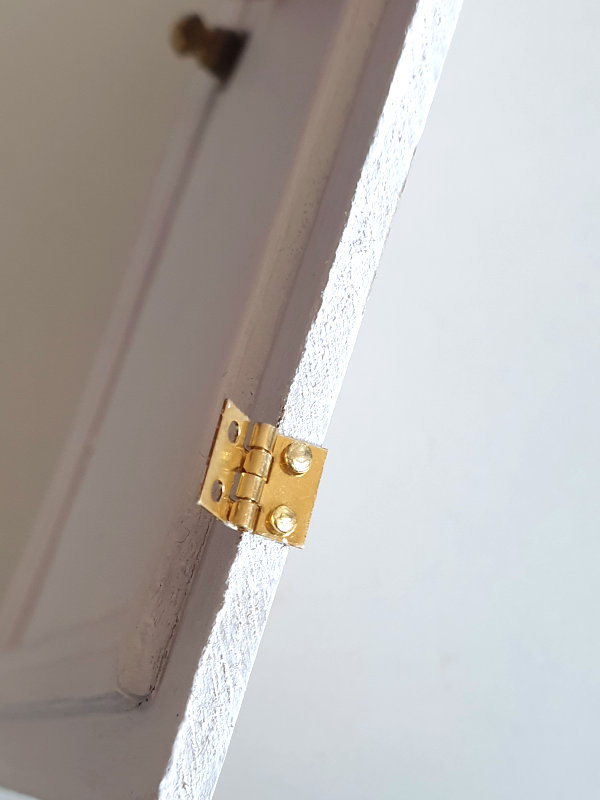
Gently push the nails into the pre-drilled holes
- For a vintage look for my door, I used chalk paint to create a shabby effect to make the door seem old, which I absolutely love!

Vintage chalk paint 
Diorama door painted chalk white
Did you make your own door?
Did you make your own DIY diorama door with a little help from this tutorial? I would love to hear from you! Share your project and your clever solutions to making a realistic door for your dolls or figures in a reply!
Click here for more diorama crafting tutorials:
1 Comment
Joyce · 5 June 2020 at 21:26
I really love the way you made the door. I also bought hinges for doll houses and I try to make a similar door. Thanks for the tutorial.