DIY gamer desk 1/6 scale
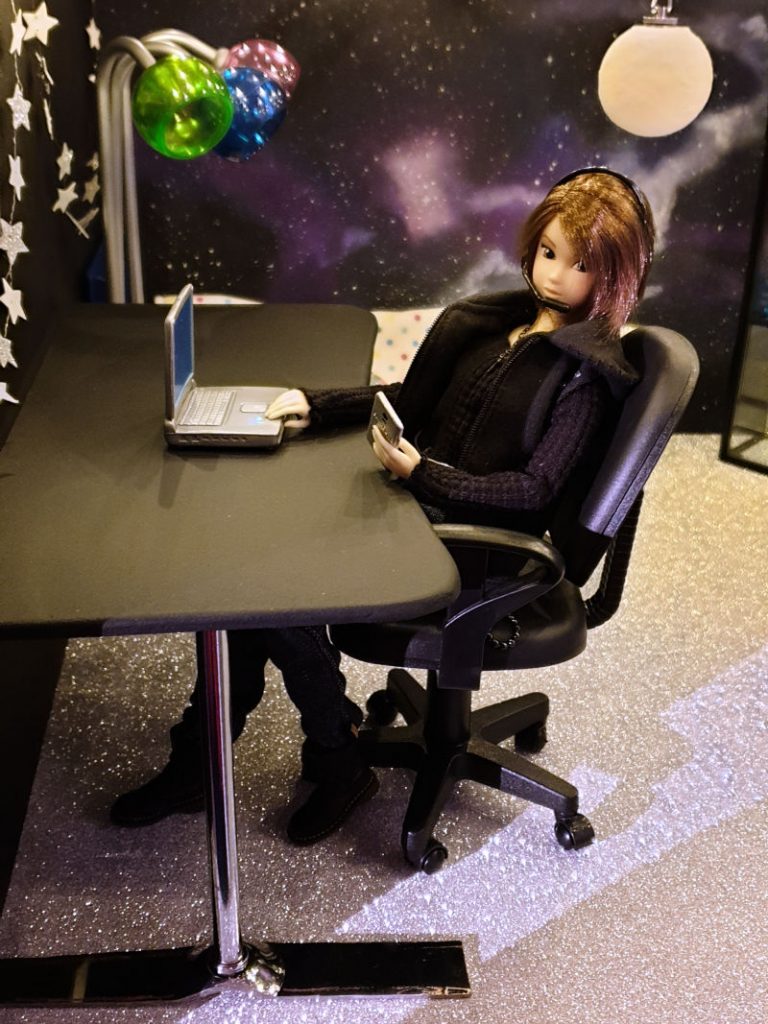
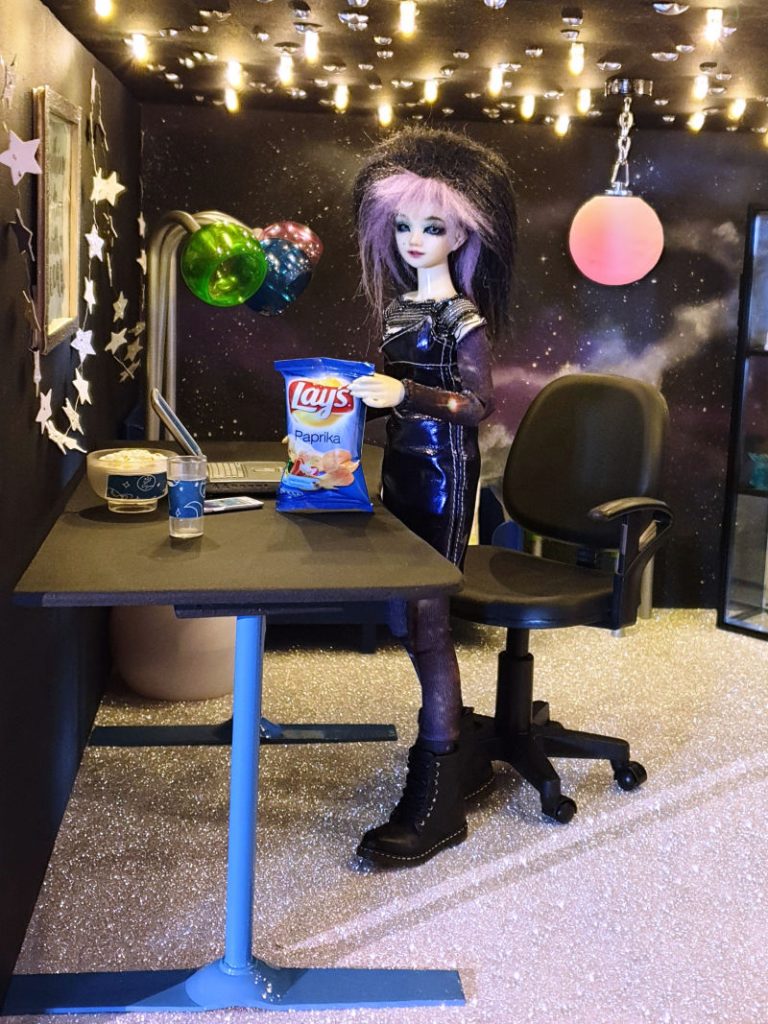
One of the rooms in my display cabinet is the galaxy room diorama in 1/6 scale. For this diorama, I am making a kickass gamer set-up. All gamers need a good desk! So, I decided to start by recreating a well known and beloved desk that many serious gamers own: the Arozzi Arena.
In this tutorial, I will explain the steps to making a realistic DIY gamer desk in 1/6 scale. Below are pictures before and after painting the support legs of the desk.
How to make the DIY gamer desk table top
- After looking up the real-life measurements for the desk: 160 x 82cm, convert these to 1/6 scale by dividing through 6.
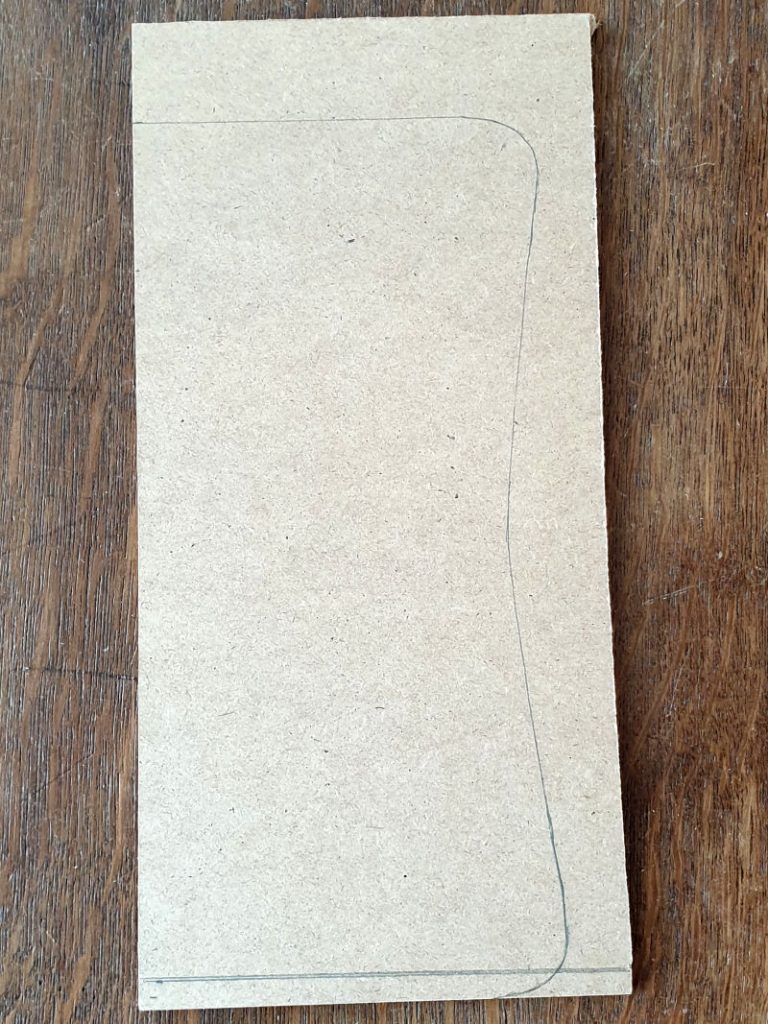
- Draw a template on a piece of paper. Start by drawing the vertical shape, then cut that out.
- Fold the paper in half and draw the desired curve on one side.
- Cut this out while keeping the paper folded, so the curve is the same on both sides. Trim where needed to get the perfect curve.
- After placing the template in the room box it looked too big. So I decided that it needed to be a little smaller, by taking about 1,5 cm off the depth.
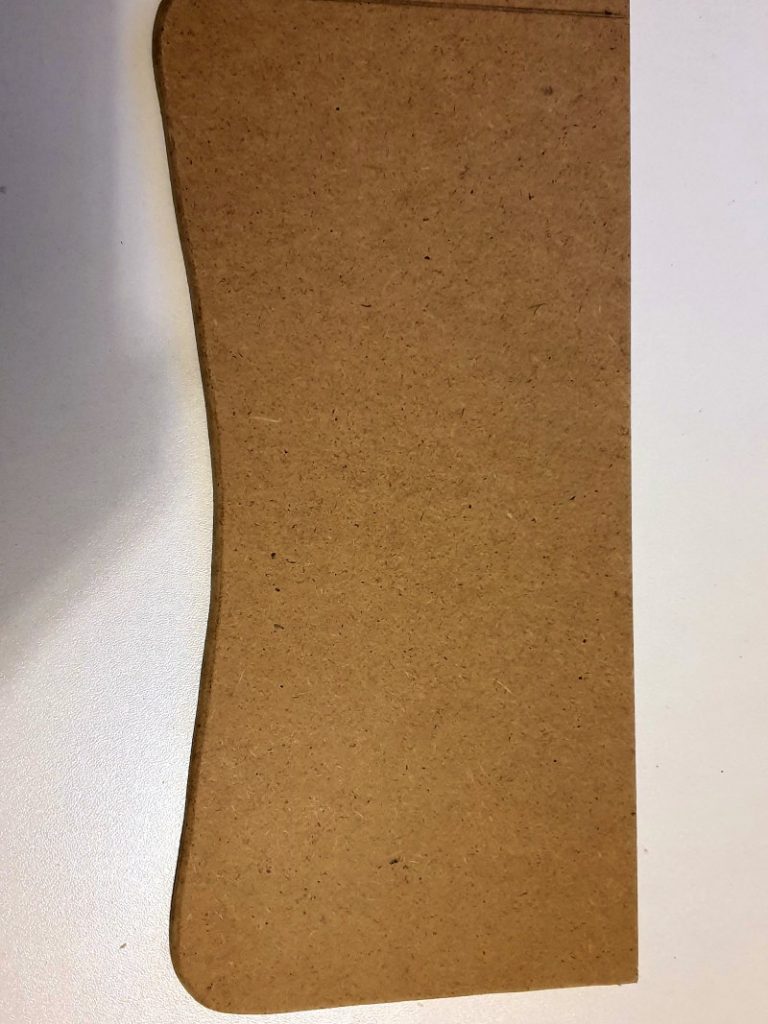
The final measurements I used are 26.67 cm wide x 12 cm deep. - After finishing the template and making sure the measurements are alright, it is time for the 4mm MDF board. Draw the template shape on to the board.
- Cut the shape out with a fretsaw.
- Sand around the edges. I chose to also sand the the edge on the front of the desk in a rounded shape for a nice finish.
How to make the DIY gamer desk metal support legs
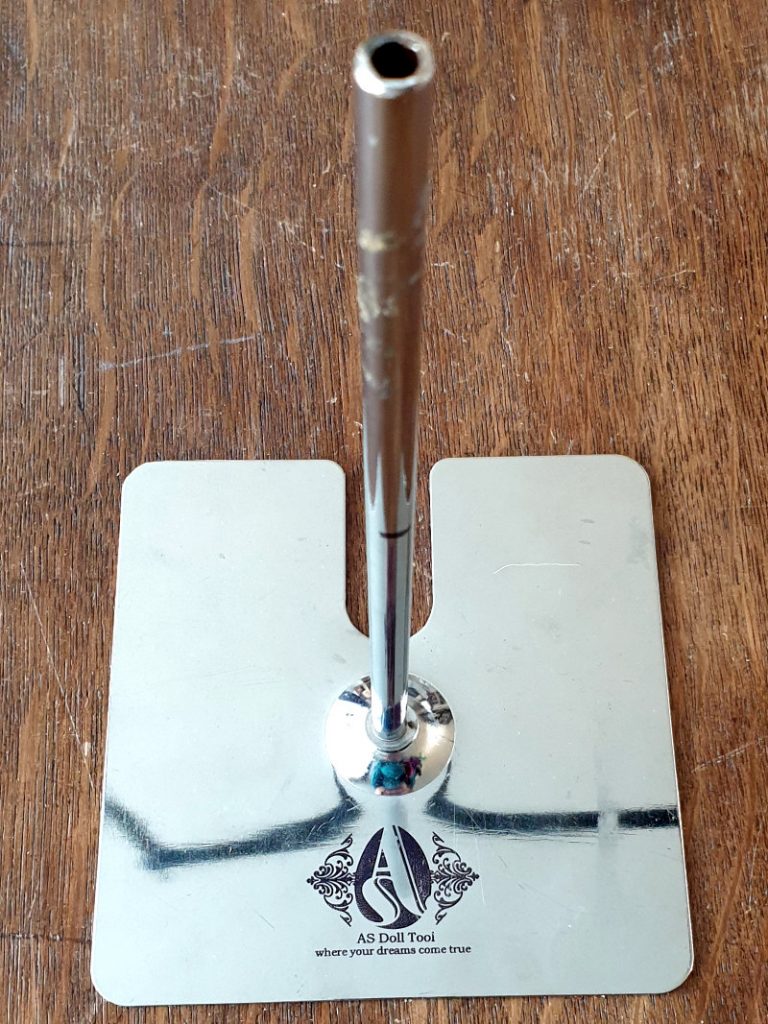
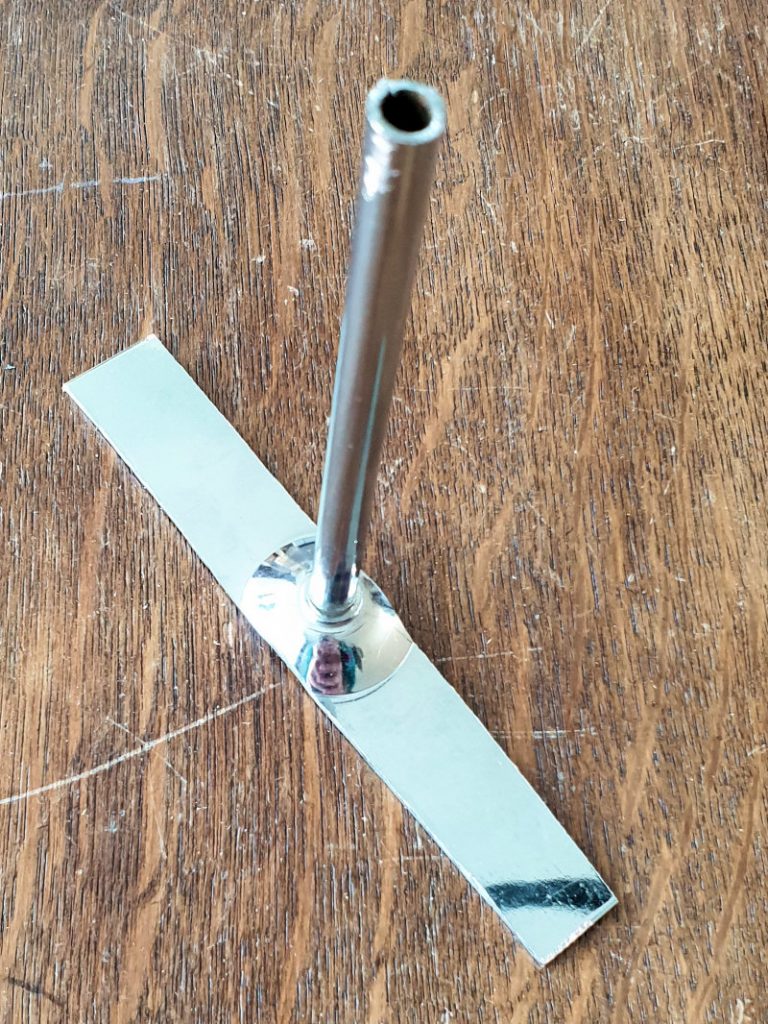
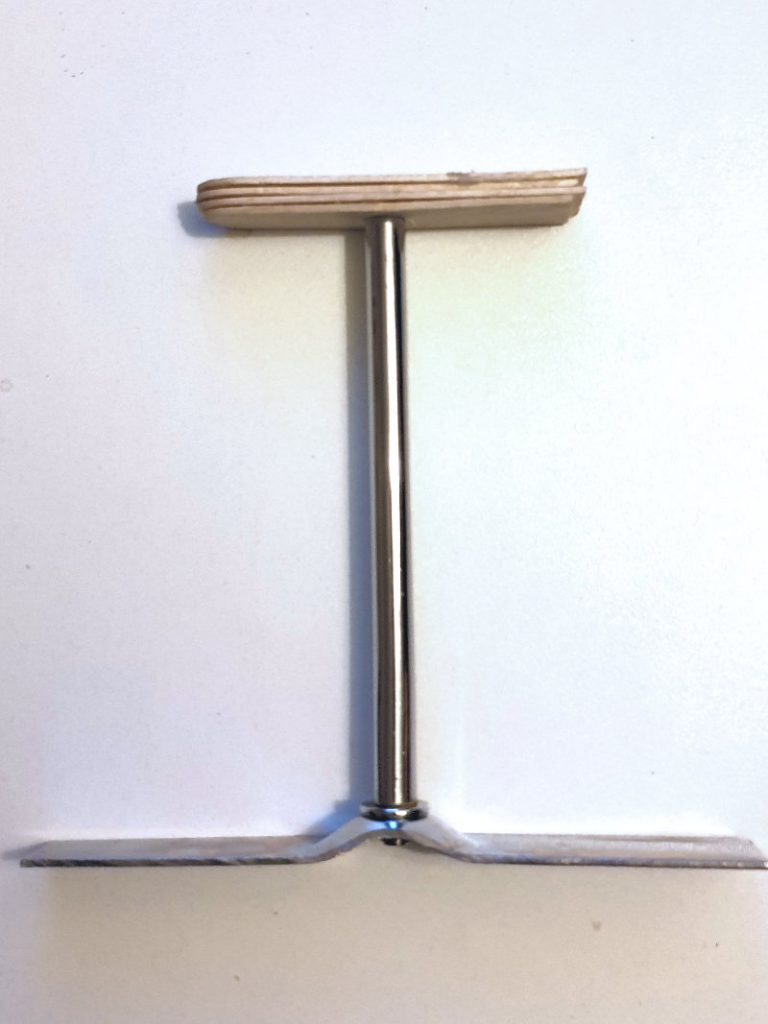
- My approach here is a bit unconventional, I will leave you to think of your own solution for it. When looking at the desk that this project is inspired by, it struck me that I needed metal supports for added realism. After rummaging through my craft supplies, I found two broken doll stands.
- Cut the legs to size by sawing off the excess metal on each side with a hacksaw. Logically, also cut the support to the desired length.
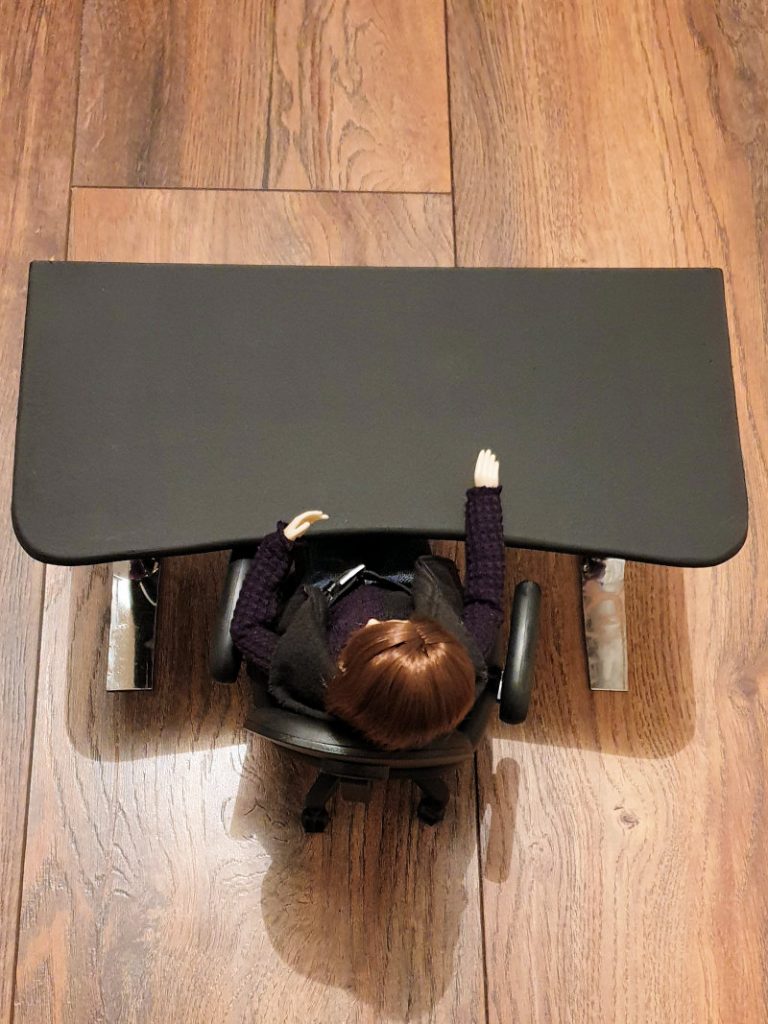
- You can determine the desk height by placing your doll in the chair in a sitting position. Bend their arms for a realistic posture and hold the desk top up. With a measuring tape, take note of the height.
- After cutting, file the edges with a dremel tool to get rid of any sharp protrusions.
How to make the wooden supports for desk legs
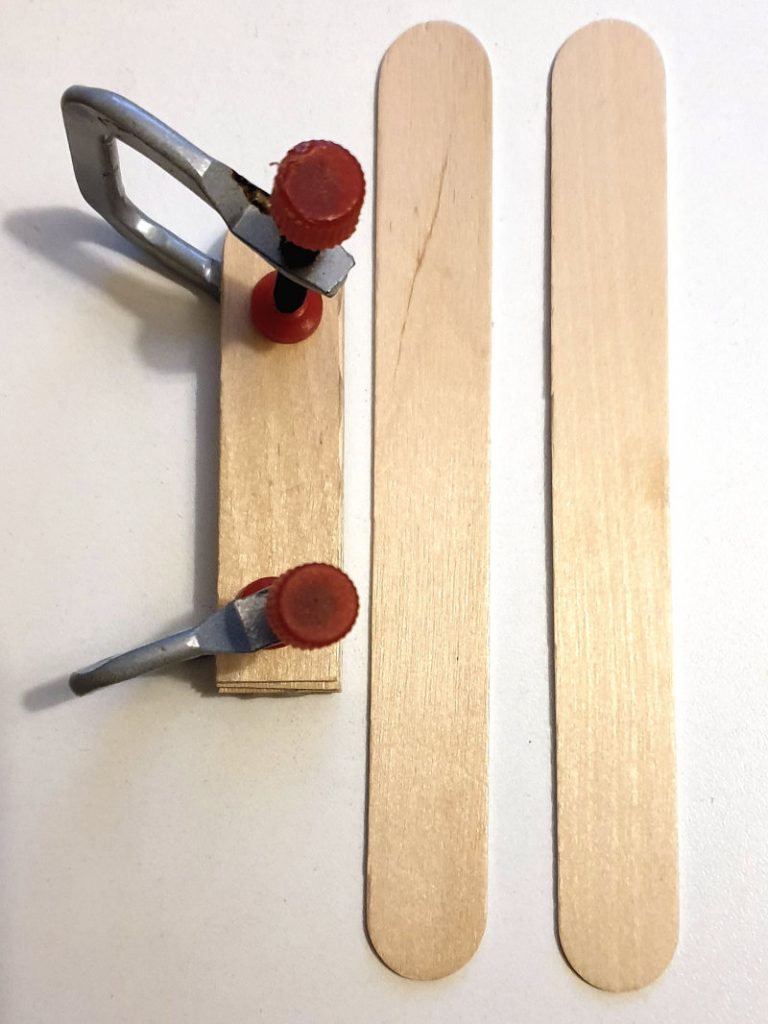
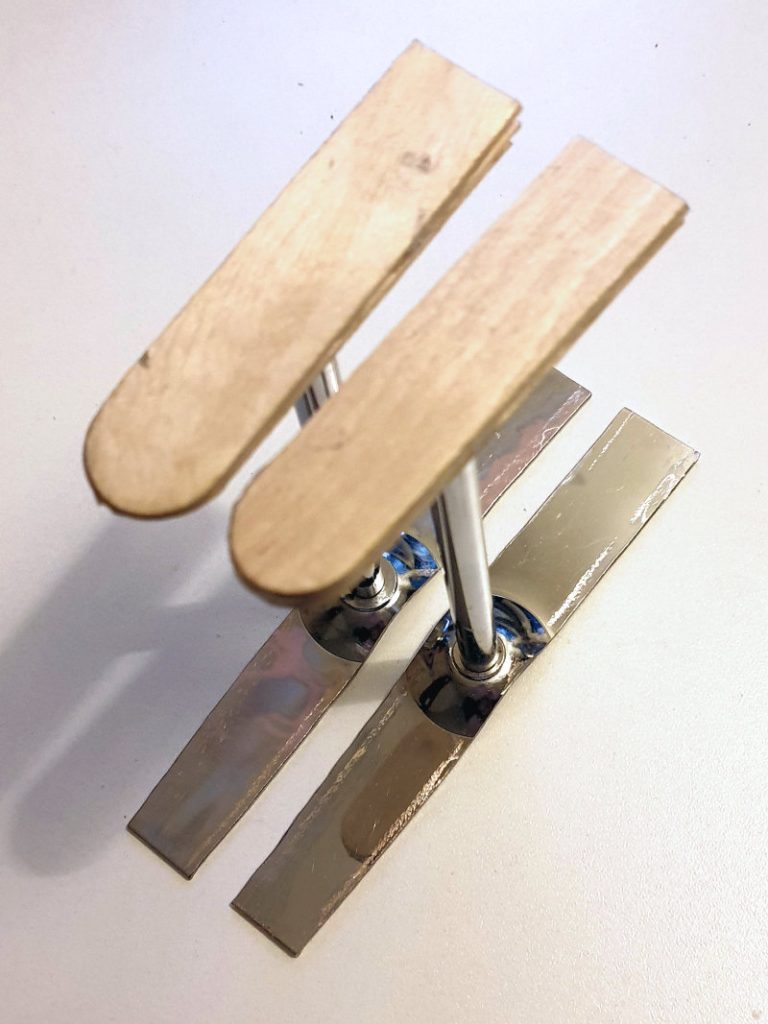
- To fasten the desk legs to the desk, make wooden support blocks with jumbo popsicle sticks (also called tongue depressors).
- Cut these in half and glue 4 layers onto each other.
- Secure with glue clamps and leave to dry.
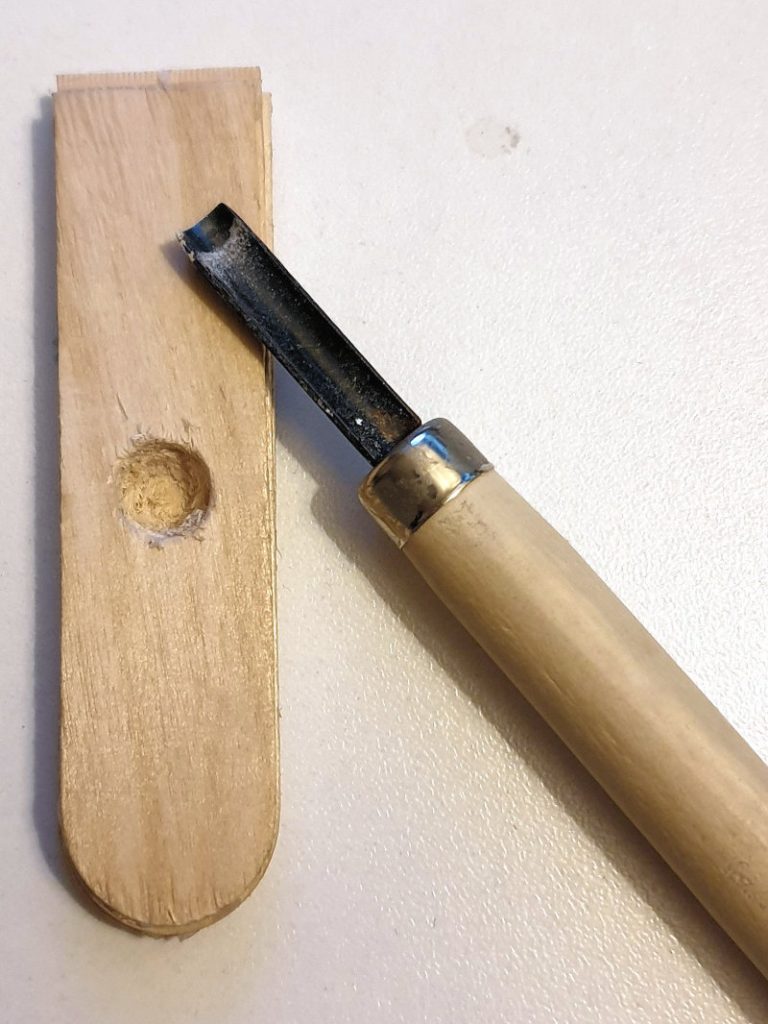
- Use a wood gouge in a circular motion to cut out a hole through two, but no more than three layers. Gently chip away at it, until the rod of the table leg fits nicely.
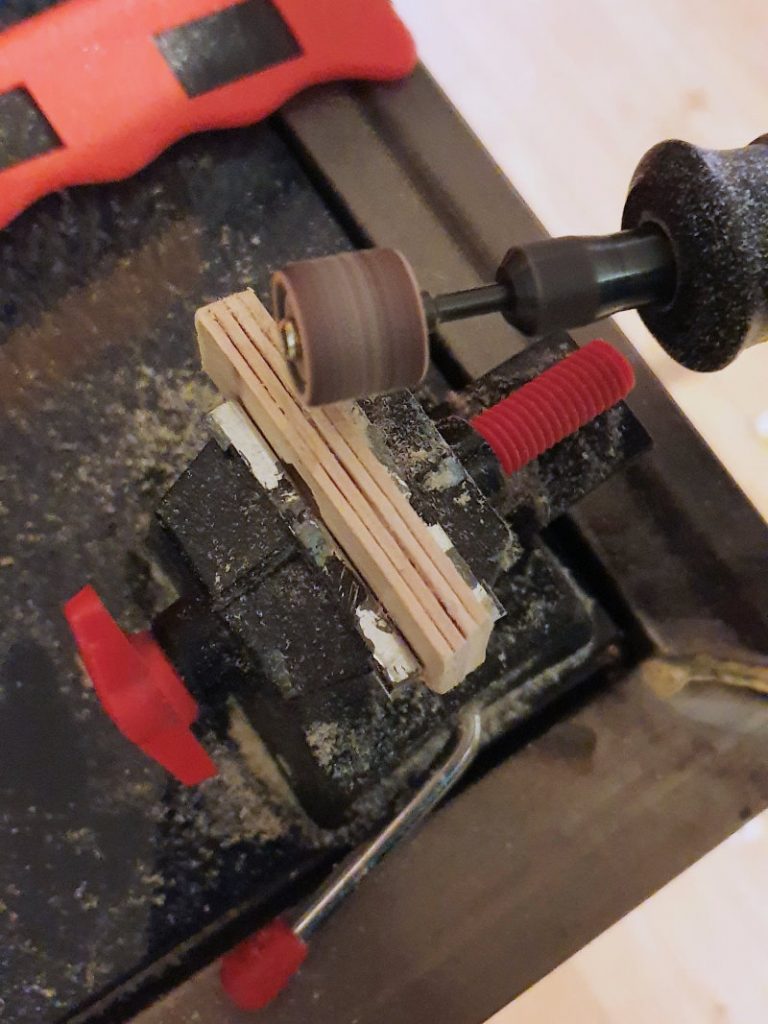
- Secure the support blocks in a model hobby miniature vice and use a dremel tool to sand the edges nice and straight. Alternatively, use sand paper and do this manually.
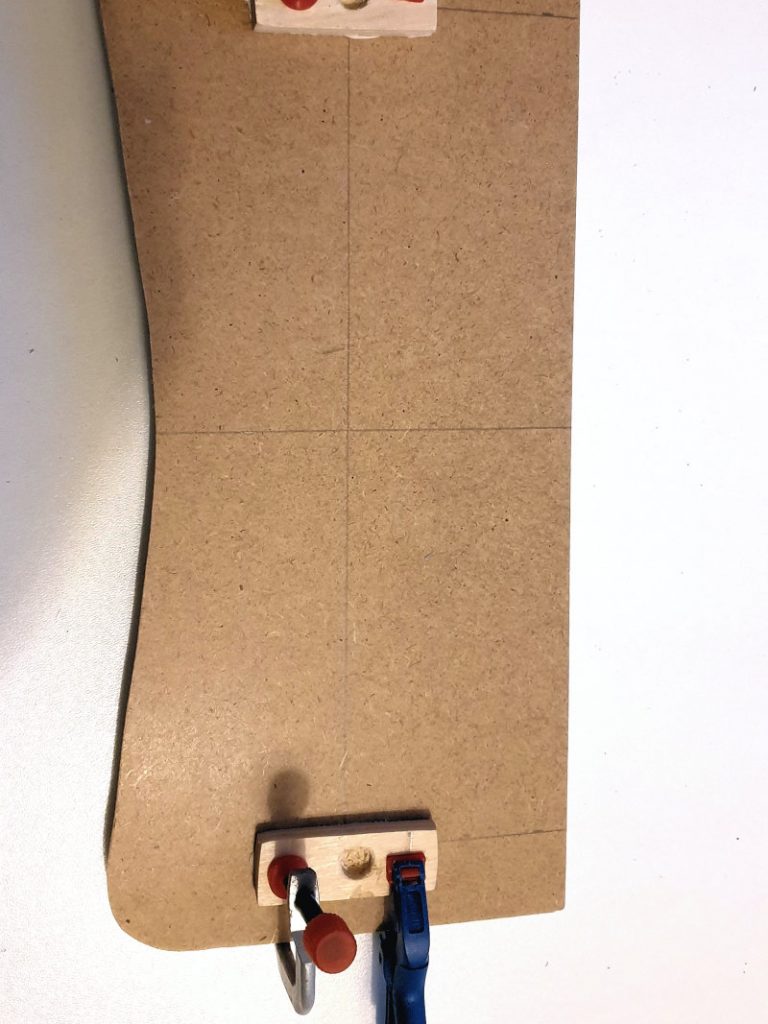
- Measure where the centre line of the desk is to make sure that you are placing the your support blocks precisely parallel to each other.
- Glue the blocks on and secure them with glue clamps until dry.
Paint your DIY gamer desk
- Paint the top and bottom of the desk with black acrylic paint applied with a sponge paint roller for the best results. Of course, two or more layers are better than one. The MDF absorbs the acrylic paint, so it dries pretty fast. Make sure to return regularly to check if the next layer can be added already.
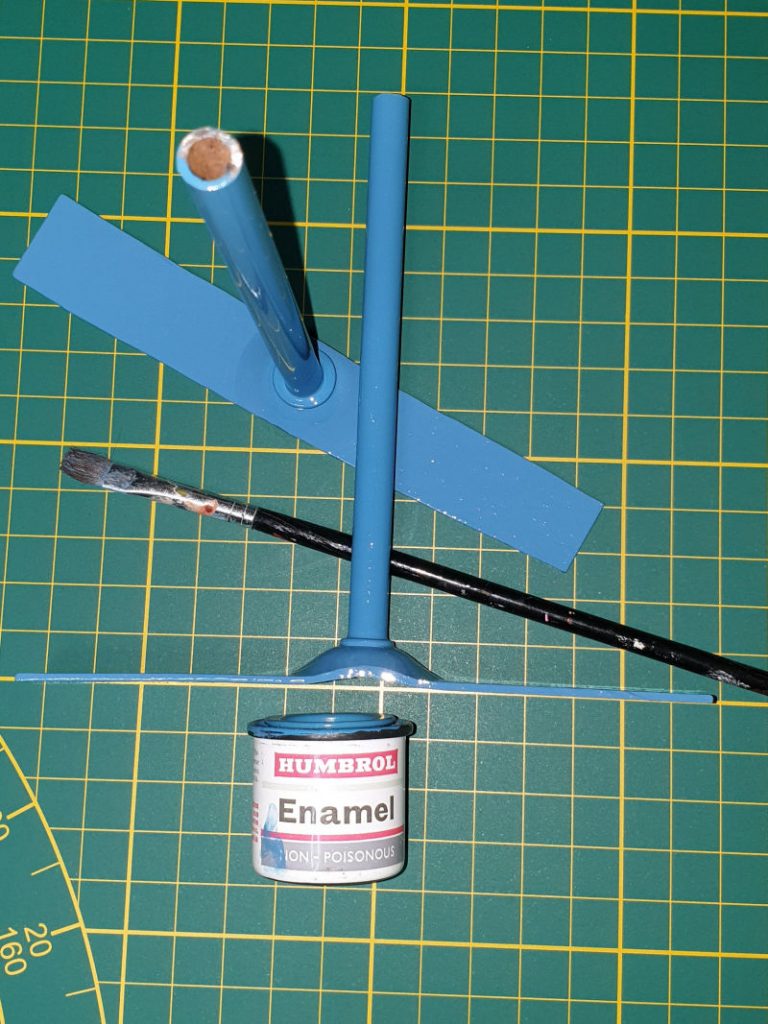
- Use model making enamel paints to paint the metal supports. Apply this paint with a soft, flat paint brush in a thin layer to prevent dripping. Paint from the bottom up in long strokes, and catch drips if necessary. Paint the bottom first and after drying place upright to paint the top and the rod. This paint takes about 8 hours to dry, so you will need patience for this step.
- Finally, glue the metal rods in the wooden support blocks and the DIY gamer desk 1/6 scale is finished!
Did you make your own desk?
Did you make your own desk with a little help from this tutorial? I would love to hear from you! Share your project and your clever solutions to making a realistic desk for your dolls or figures in a reply!
Click here for more diorama crafting tutorials:
0 Comments