DIY real wooden floor 1/6 scale
One of the rooms in my display cabinet is the scandi boho diorama in 1/6 scale. I started to build the room by making this really easy DIY real wooden floor, made with jumbo popsicle sticks (also known as tongue suppressors).
In this tutorial, I will explain the steps to making your own realistic DIY real wooden floor. You can also add this beautiful, realistic flooring to your doll houses and dioramas!
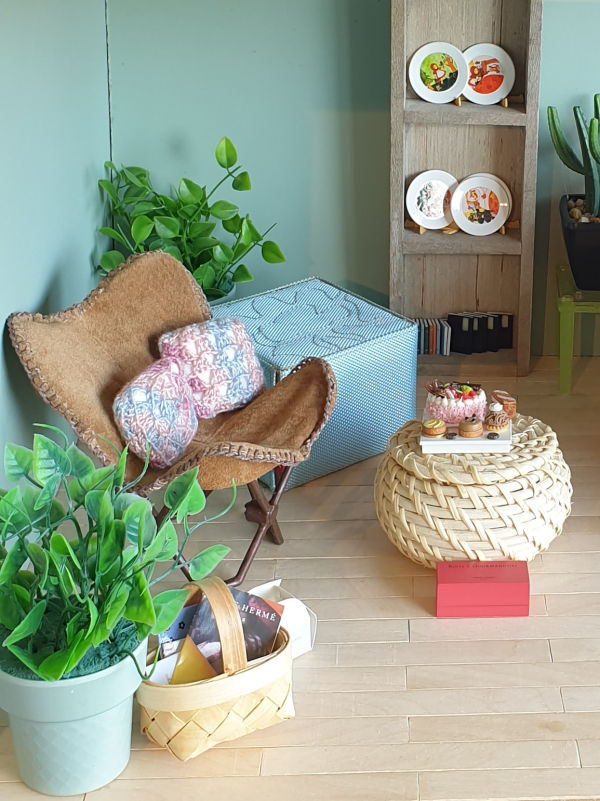
How to make the DIY real wooden floor base
- For the base of the floor, I have used 4mm MDF board, but you can use any material you like, for instance cardboard, as long as it has a leveled surface.
- I took the measurements for the base from my glass display cabinet, so it would fit in there. You don’t have to make it square as I did, of course you can decide where to store your floor and which size would work well for you!
- Draw the measurements of your base out on the MDF and use a saw to cut it out.
- Don’t forget to sand the edges smooth for a nice finish.
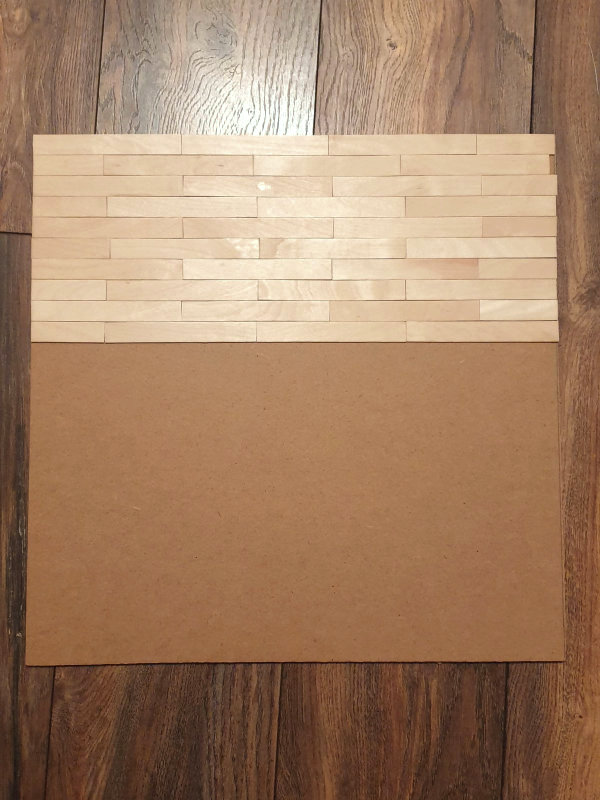
MDF floor base 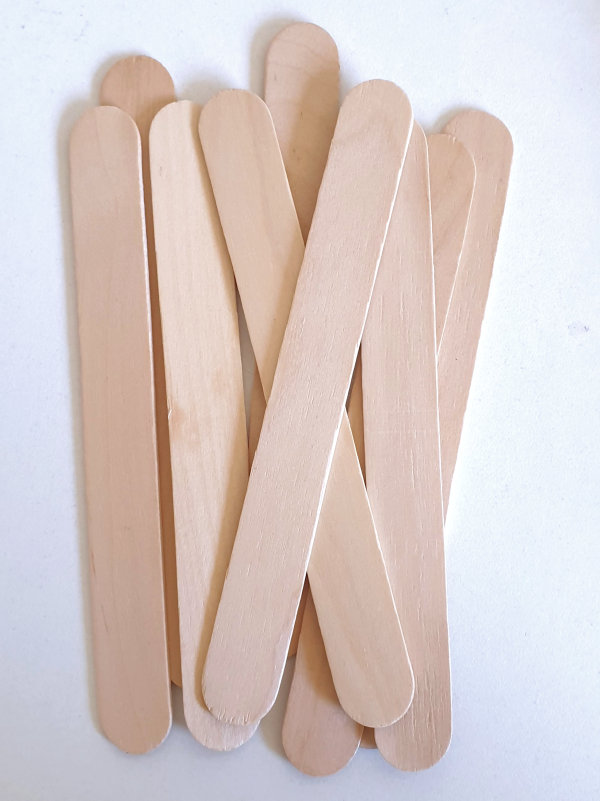
Jumbo craft sticks
How to make the DIY real wooden floor boards
- To make the real wooden floor boards, use jumbo popsicle sticks (also known as tongue suppressors). These are extra wide craft sticks, which look very realistic as 1/6 scale boards for a wooden floor. Below is an example of the three sizes of craft sticks I use: jumbo, popsicle and coffee stirrer sticks.
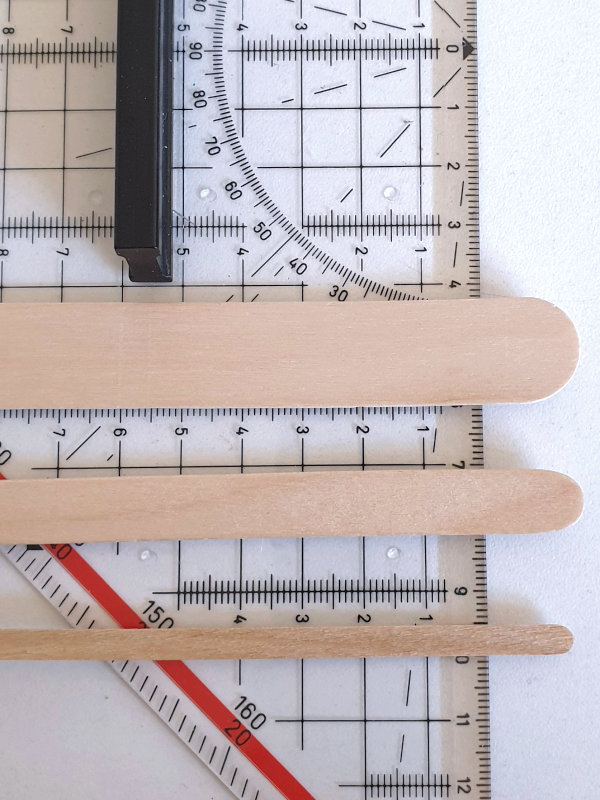
Craft sticks measurements 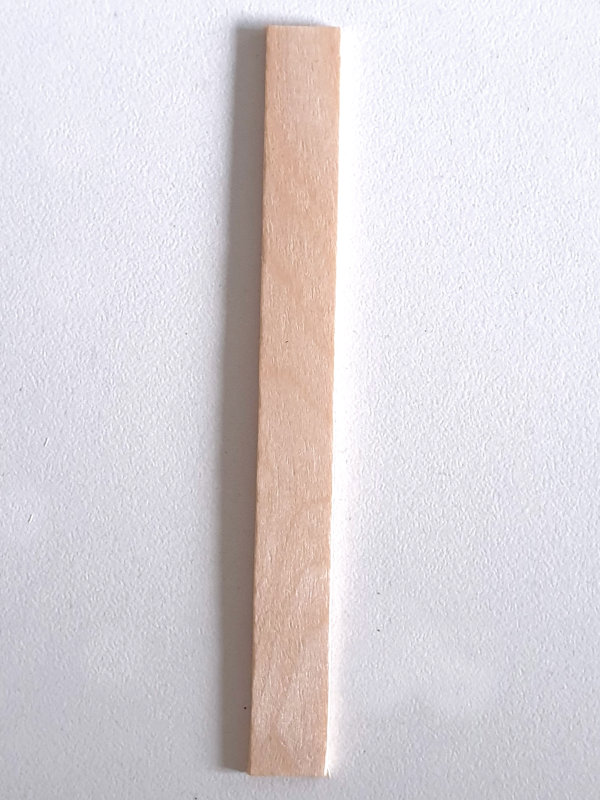
Straight cut jumbo popsicle stick
- You can use sturdy craft scissors or a model hobby mini handsaw to cut the rounded edges straight off and cut each board to approximately the same length as the others.
- Cut a batch of about 5-6 sticks and sand the edges smooth to get rid of any splinters.
- When the batch is finished, you can arrange them on the base in your preferred pattern. I recommend alternating the floor boards based on their length for a simple floor pattern.
- Also, try to match the width and height of the floor boards of a batch with each other for a nicer look, as craft sticks can vary a bit in measurements. This way, there won’t be too much of a height or width difference in your finished floor.

Craft scissors 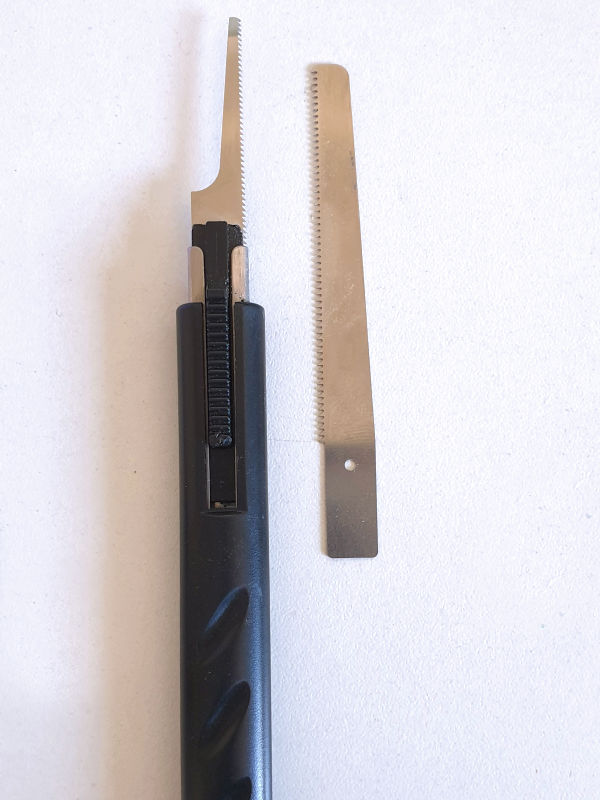
Model hobby mini handsaw
Arrange and assemble the DIY real wooden floor
- Finally, use a white PVA glue to glue the boards to the base. The brand doesn’t matter all that much, a simple water-based craft glue that dries clear and is suitable to glue wood with will work perfectly! Spread an even layer of glue along the bottom of the floor board, arrange it on the base and press firmly.
- To make sure that your boards adhere well to the base, put something flat and heavy on top of the glued sections, to act as a glue clamp. This way, the liquid in the glue can evaporate and the glue can dry without your boards warping.
- Let it dry overnight and admire your beautiful DIY real wooden floor!
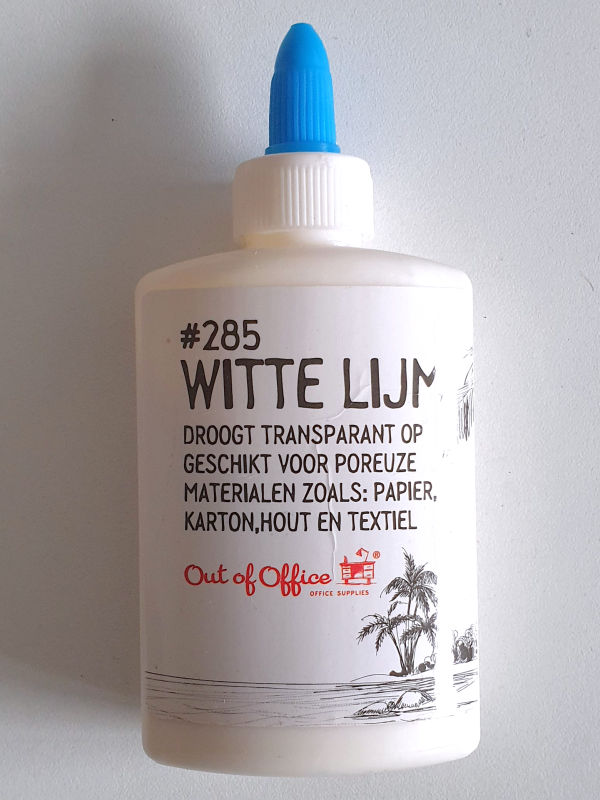
White PVA glue 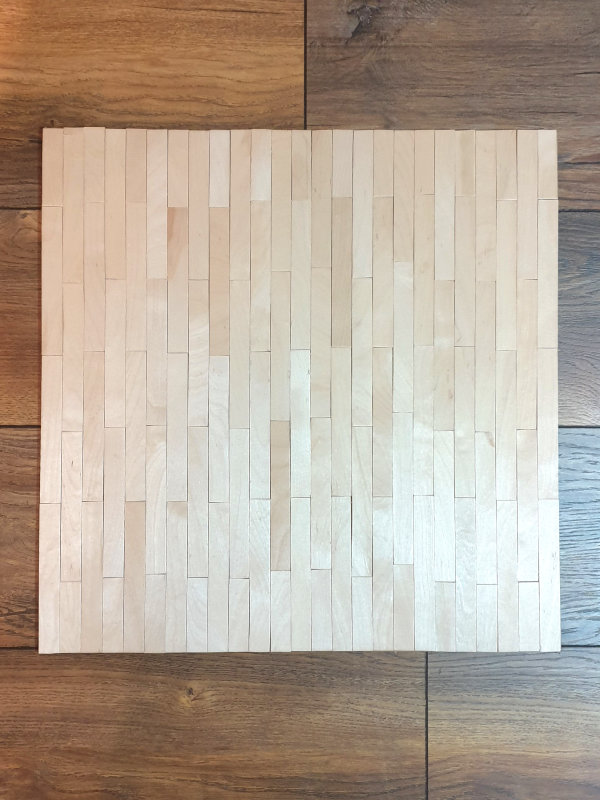
The finished real wooden floor!
Did you make your own floor?
Did you make your own DIY real wooden floor with a little help from this tutorial? I would love to hear from you! Share your project and your clever solutions to making a realistic floor for your dolls or figures in a reply!
Click here for more diorama crafting tutorials:
0 Comments